MakeO blog
- ToothsiSmile CorrectionBrighter smilenewToothsi Productsnew
- Skin & HairLaser hair removalnewestAdvance skin treatmentfacialsHair TreatmentNew
DIY Facial at Home in 5 Easy Steps!

60 found this useful
Not everyone has the time to spend hours on end month after month for facials to achieve naturally soft, unblemished, glowing skin. Sometimes, we don’t have the time or simply have no energy to go to a parlour for extensive facial treatment. On those days, it’s easier to rely on some products and ingredients you already have. As Indians, we are familiar with homemade face packs made from natural ingredients. But you’ll be surprised to know that you can do an effective and wonderful facial at home with your skincare products too!
Facial at Home in Just 5 Steps
Let’s take you through the five steps of facial at home for a rejuvenating experience. Similar to the luxurious facial experience at a skin service or a parlour, you can create your own home facial for glowing skin by diving the entire process into three main parts: Cleansing, Masking and Moisturising.
1. Cleansing
One of the first and most important things to do in a facial is cleansing. Depending upon your skin type, choose a gentle and effective cleanser and slowly cleanse your face. Tie your hair back so that it does not get in the way. You can look for a face wash with natural exfoliants like walnut powder too. Be sure to gently apply the cleanser and avoid excessive rubbing. You can also massage your face during this step. Once done, gently pat dry your face with a clean cloth or a microfiber towel.
If you have makeup or feel like the remnants of a product are on your face, you can even try double cleansing. To double cleanse well, begin with an oil cleanser and then go ahead with a more moisturising cleanser!
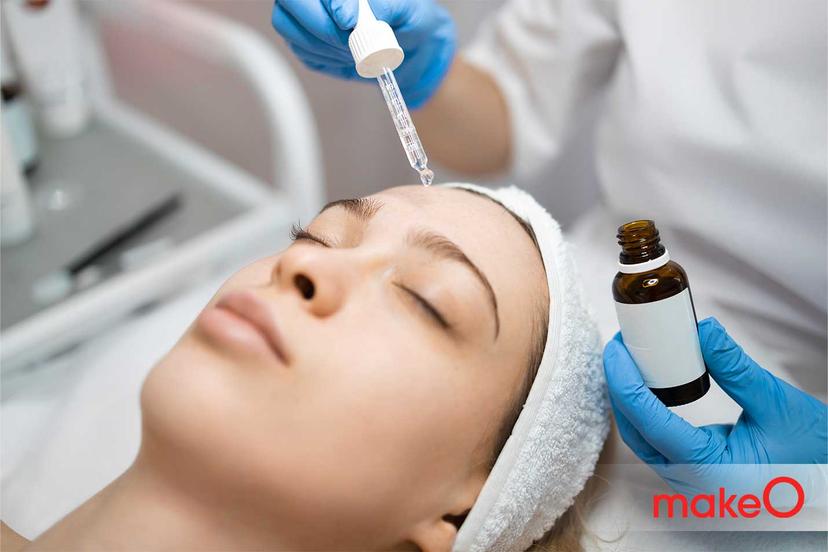
2. Steaming
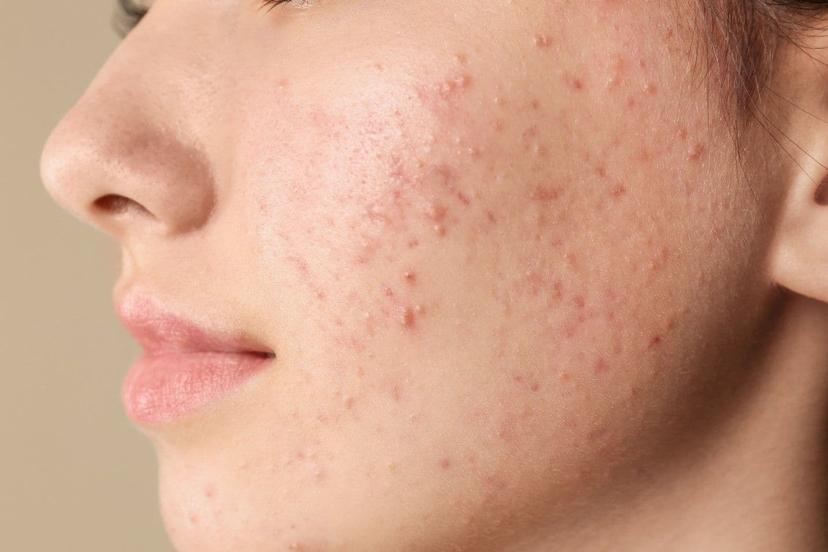
After exfoliation, use a steamer or a vessel with hot water to steam your face for 5-10 minutes. Steaming is one of the best ways to remove impurities from your pores and get purified skin. Steaming helps open pores and also gets rid of excess sebum. If you struggle with acne, steam is especially good for you! Steaming has an overall hydrating effect and seemingly softens the skin texture too.
3. Exfoliating
While a cleanser is good for removing oil, dirt and germs from your face, it can rarely get rid of dead skin cells. Exfoliators are efficient at removing dead skin cells along with any embedded dirt. They promote the growth of new skin cells and make your skin softer and brighter which is why after your cleanser, make sure to use an exfoliator too.
If you’re out of a face scrub, you can always choose natural ingredients like walnut powder, coffee grounds, sugar and more to create a natural exfoliator for your facial glow at home. Exfoliating peels are perfect to use post-steaming for a clean canvas before you apply a facial mask! Not sure which peel to choose from? Check out makeO skin (formely skinnsi) be bright aha bha exfoliating peel for bright and glowing skin!
4. Masking
You can’t have a homemade facial without a mask! You can either choose to buy a facial mask from a store or make one with natural ingredients at home. Make sure to choose products/ingredients that can help with your skin concerns. If you want a de-tanning facial, choose a de-tanning face pack, if you want a hydrating facial, then choose a face mask with ultra-hydrating elements. And if you’re looking for sheet masks for glowing skin, choose makeO skin (formely skinnsi) enrich expert vitamin c sheet mask!
You can also add thin cucumber slices to your eyes or cold green tea bags to keep your eyes cool and feeling refreshed! Keep the mask on for 10-15 minutes and rinse it with cold water.
5. Toning and Moisturising
Once you have finished masking, all you are left with is nourishing your skin. Masks and all the previous products have by now done their job of cleaning and purifying your skin. Now you need to find a hydrating toner and moisturiser to keep your skin feeling healthy and plump! Our hydrating toner recommendation for happy skin would be makeO skin (formely skinnsi) happy hydrate refreshing mist. We also recommend the happy hydrate ceramide moisturiser for supple and smooth skin!
Once you have moisturised, you are done with your at-home facial!
Pro tip: To create a relaxing atmosphere for your facial as done in parlours, you can light candles, burn incense, switch on warm lights and even play soft music! We hope these tips help you in creating your very own seamless homemade facial experience!
FAQs
How can I do a facial at home by myself?
You can easily recreate a parlour-like facial at home by
- Creating a relaxing environment
- Using a cleanser and exfoliator to wash and deep clean your face
- Using a steam machine to steam your face and remove impurities
- Using a skin-loving face mask to drench your skin in helpful ingredients
- Toning and moisturising your skin with the right products to boost skin moisture, and elasticity and bring back your glow
Is Facial at Home effective?
Yes, you can always skip some parlour facials and do at-home facials. These are very effective at maintaining the quality of your skin. However, you must try to visit a parlour often as only professionals can safely conduct micro-needling and extraction without infections or cuts!
What is the right age for a facial treatment?
Anyone above the age of 14 can get a facial done. The best time to get one is when you notice your skin getting dull, and rough or see a rising presence of whiteheads, blackheads and oil.
What are the 3 steps to a basic facial?
The simplest facial at home step by step involves cleansing, masking and moisturising.
related categories
Related articles
Anti-Ageing Face Oils: Unveiling the 10 Best Facial Oils for Youthful Skin
8 Tips on How to Remove Pimples

5 Common Mistakes to Avoid When Using a Face Roller
5 Side Effects of Hair Removal Creams That You Must Know

Under-Eye Skincare: 5 Ingredients to Avoid for Adverse Effects
Home
toothsi
Hair Removal
Skin & Hair
Centre